准备
查看当前所在目录
下载
1
|
wget https://download.redis.io/releases/redis-3.0.7.tar.gz
|
解压
1
|
tar -xvf redis-3.0.7.tar.gz
|
创建软链
1
|
ln -s redis-3.0.7 redis
|
编译安装
进入 redis 目录编译安装。会在 /usr/local/bin 目录下生成可执行文件,之后就可以在任意目录下执行 redis 的可执行文件:
1
2
|
cd redis
make && make install
|
进入 src 目录下可以查看 redis 的可执行文件:
1
2
3
4
5
6
7
8
9
10
11
12
13
14
15
16
17
|
$ cd src/
$ ll | grep redis-
-rwxr-xr-x. 1 root root 2077112 Dec 25 13:05 redis-benchmark
-rw-rw-r--. 1 root root 28351 Jan 25 2016 redis-benchmark.c
-rw-r--r--. 1 root root 97224 Dec 25 13:05 redis-benchmark.o
-rwxr-xr-x. 1 root root 24992 Dec 25 13:05 redis-check-aof
-rw-rw-r--. 1 root root 6328 Jan 25 2016 redis-check-aof.c
-rw-r--r--. 1 root root 33656 Dec 25 13:05 redis-check-aof.o
-rwxr-xr-x. 1 root root 55840 Dec 25 13:05 redis-check-dump
-rw-rw-r--. 1 root root 22274 Jan 25 2016 redis-check-dump.c
-rw-r--r--. 1 root root 70264 Dec 25 13:05 redis-check-dump.o
-rwxr-xr-x. 1 root root 2206728 Dec 25 13:05 redis-cli
-rw-rw-r--. 1 root root 75872 Jan 25 2016 redis-cli.c
-rw-r--r--. 1 root root 311552 Dec 25 13:05 redis-cli.o
-rwxr-xr-x. 1 root root 4359144 Dec 25 13:05 redis-sentinel
-rwxr-xr-x. 1 root root 4359144 Dec 25 13:05 redis-server
-rwxrwxr-x. 1 root root 60527 Jan 25 2016 redis-trib.rb
|
- redis-server: 可以启用一个redis服务器
- redis-cli: redis命令行客户端
- redis-benchmark: redis性能测试工具
- redis-check-aof: redis aof文件修复工具,比如断电的时候文件可能存在损坏的情况
- redis-check-dump: redis rdb文件检查修复工具
- redis-sentinel: 启用redis-sentinel节点
启动
最简启动
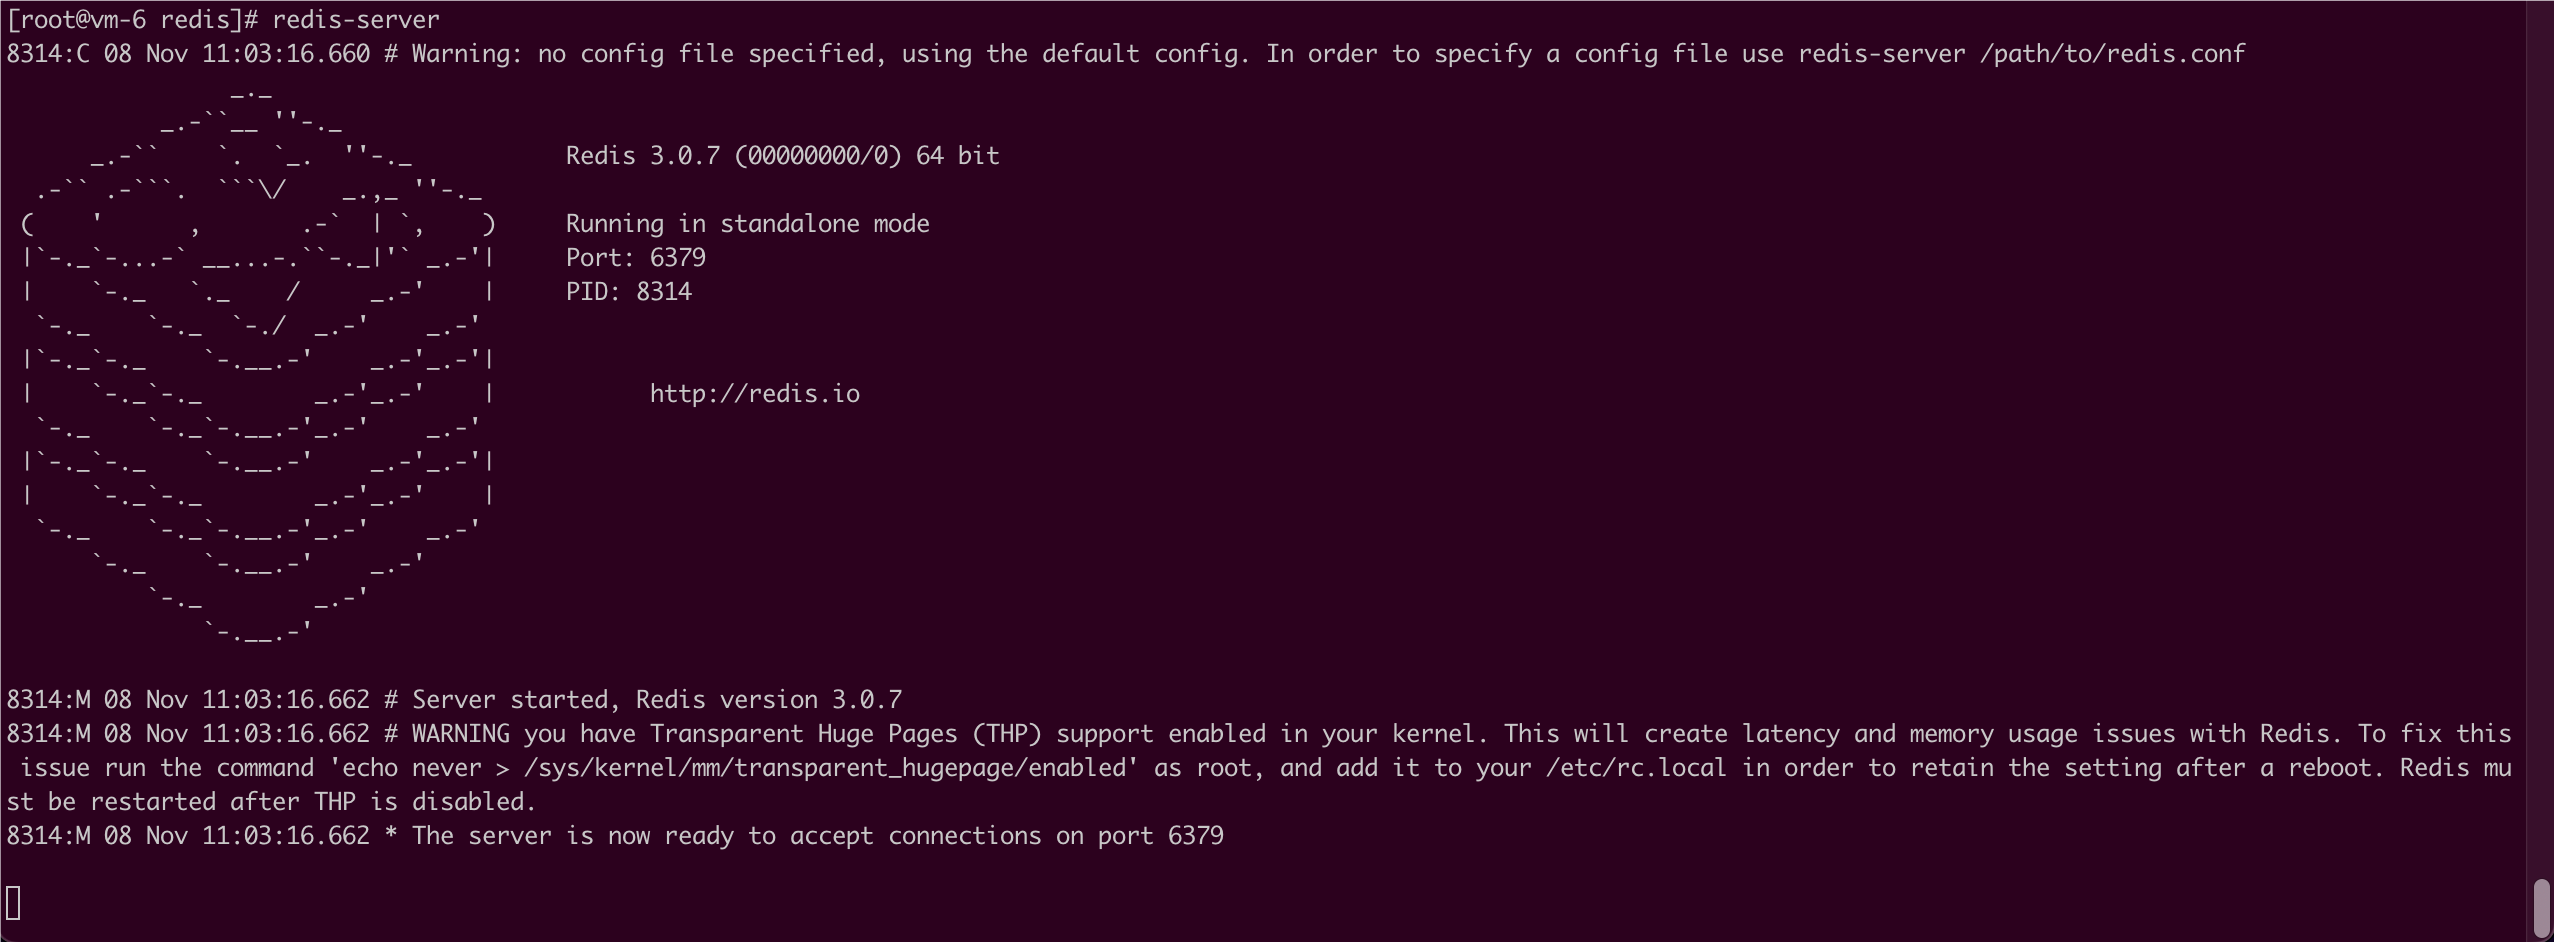
默认配置,非守护进程方式启动,日志是直接输出在终端:
1
2
3
|
# pwd
/opt/redis
# redis-server
|
第一句:
1
2
3
|
# Warning: no config file specified, using the default config. In order to specify a config file use redis-server /path/to/redis.conf
...
The server is now ready to accept connections on port 6379
|
- 告诉我们没有指定配置文件,使用默认配置。
- 告诉我们启动的是
6379 端口。
测试
另开一个终端,使用Redis客户端进行连接,在任意目录下使用 redis-cli 命令即可对Redis进行连接,比如:
1
2
3
4
5
6
7
8
|
# redis-cli -h 127.0.0.1 -p 6379
127.0.0.1:6379> ping
PONG
127.0.0.1:6379> set hello world
OK
127.0.0.1:6379> get hello
"world"
127.0.0.1:6379> exit
|
不指定 -h 默认的就是 127.0.0.1,不指定 -p 默认的就是 6379,比如:
1
2
3
4
5
6
7
8
|
# redis-cli
127.0.0.1:6379> get hello
"world"
127.0.0.1:6379> del hello
(integer) 1
127.0.0.1:6379> get hello
(nil)
127.0.0.1:6379> exit
|
也可以使用下面几种方式验证是否启动:
1
2
3
|
ps -ef | grep redis
netstat -antpl | grep redis
redis-cli -h {IP} -p {PORT} ping
|
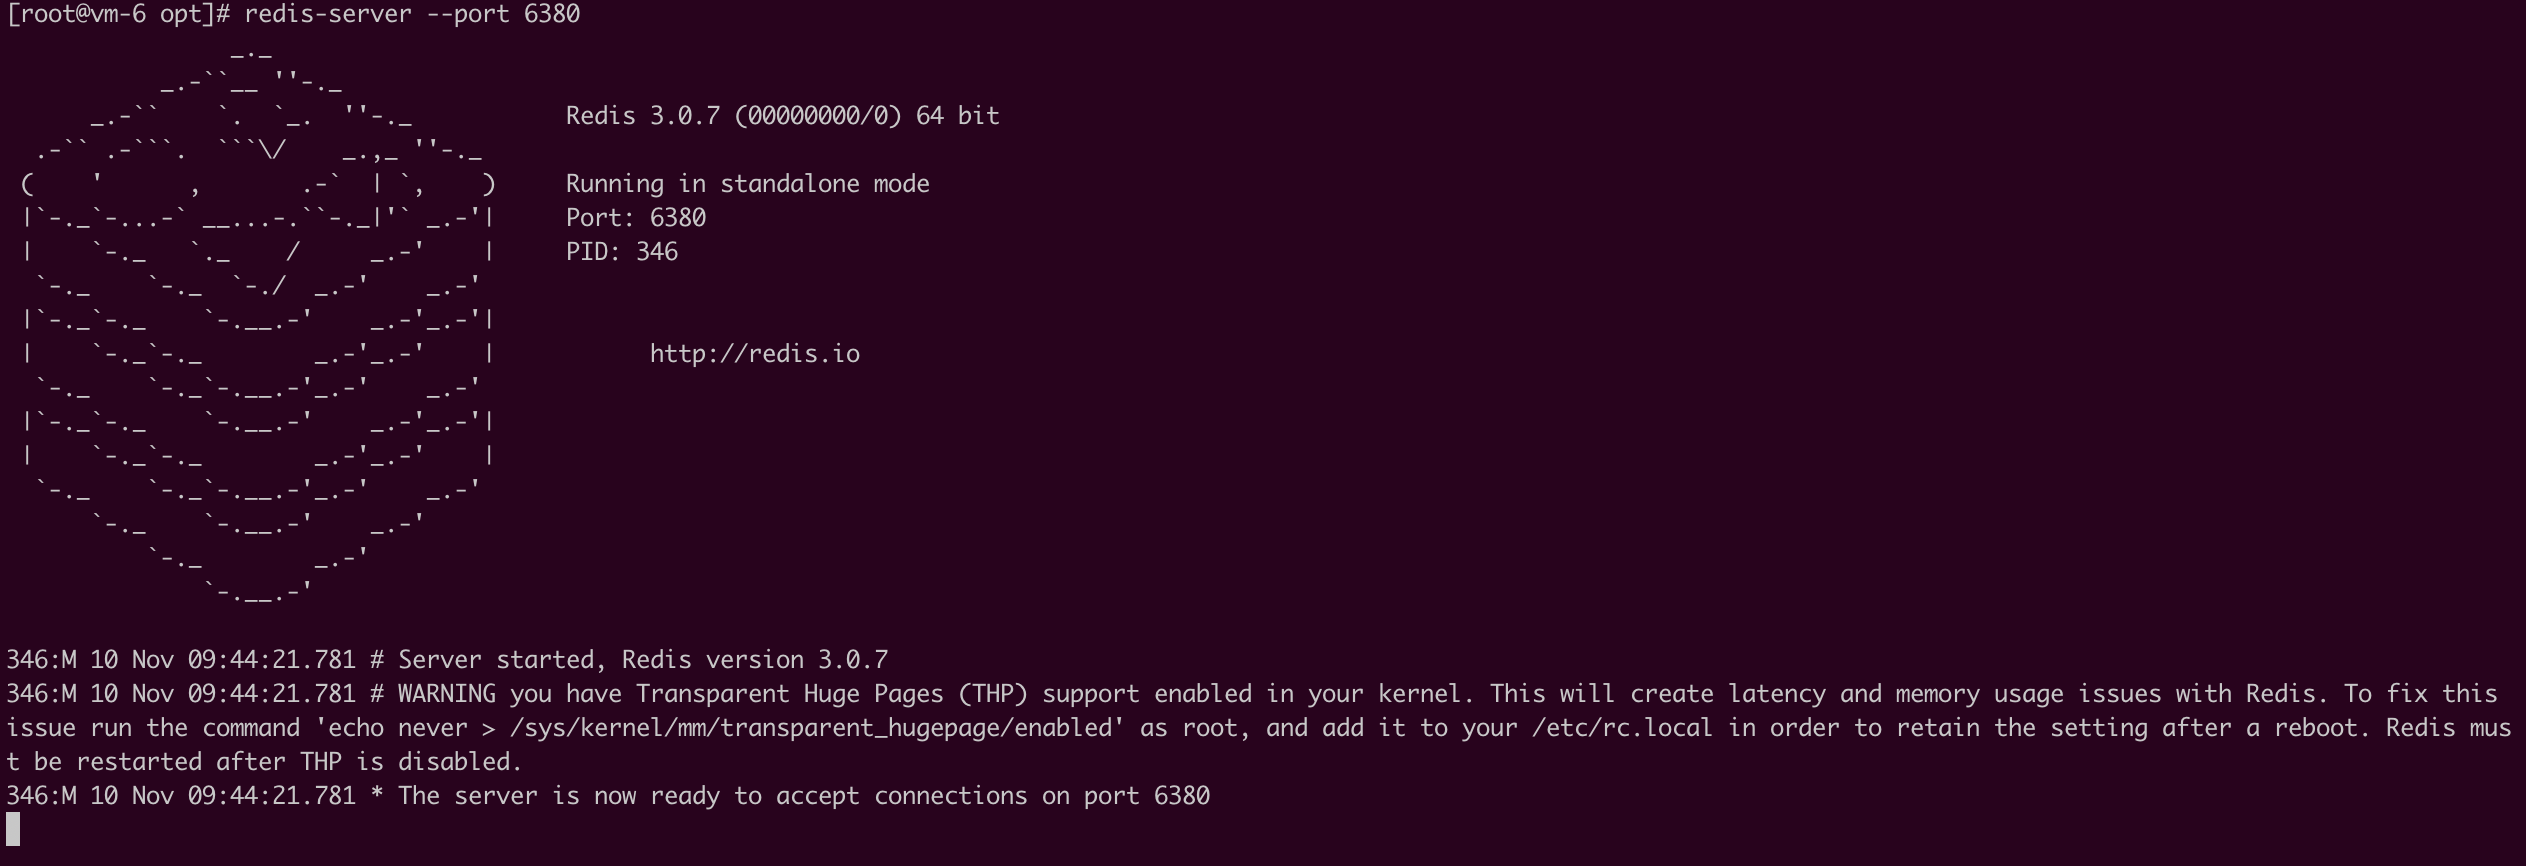
动态参数启动
这里以 6380 端口启动 Redis:
1
|
redis-server --port 6380
|
连接测试:
1
2
3
4
5
6
7
8
|
# redis-cli -p 6380
127.0.0.1:6380> get hello
(nil)
127.0.0.1:6380> set hello world
OK
127.0.0.1:6380> get hello
"world"
127.0.0.1:6380> exit
|
查看Redis进程,可以看到有 6379 和 6380 在提供服务:
1
2
3
|
# ps -ef | grep redis-server | grep -v grep
root 312 288 0 09:42 pts/1 00:00:00 redis-server *:6379
root 346 316 0 09:44 pts/2 00:00:00 redis-server *:6380
|
配置文件启动(推荐)
进入 /opt/redis 目录,通常是在 redis 目录下新建一个 config 的配置目录,然后将 Redis 的默认配置拷贝到 config 目录:
1
2
3
4
|
# cd /opt/redis
# mkdir config
# cp redis.conf config/
# cd config/
|
由于一台机器可能会部署多台Redis,为了区分,一台机器上多个Redis就有可能涉及到很多的端口,配置文件也可以使用不同的端口进行区分。比如使用配置文件启动一个端口是 6381 的Redis服务。
查看下 redis.conf 中默认配置,把所有的注释(#)和所有的空行(^$)去掉,就可以看到所有的配置了:
 1
 2
 3
 4
 5
 6
 7
 8
 9
10
11
12
13
14
15
16
17
18
19
20
21
22
23
24
25
26
27
28
29
30
31
32
33
34
35
36
37
38
39
40
41
42
43
44
45
46
47
48
49
50
|
# cat redis.conf | grep -v "#" | grep -v "^$"
daemonize no
pidfile /var/run/redis.pid
port 6379
tcp-backlog 511
timeout 0
tcp-keepalive 0
loglevel notice
logfile ""
databases 16
save 900 1
save 300 10
save 60 10000
stop-writes-on-bgsave-error yes
rdbcompression yes
rdbchecksum yes
dbfilename dump.rdb
dir ./
slave-serve-stale-data yes
slave-read-only yes
repl-diskless-sync no
repl-diskless-sync-delay 5
repl-disable-tcp-nodelay no
slave-priority 100
appendonly no
appendfilename "appendonly.aof"
appendfsync everysec
no-appendfsync-on-rewrite no
auto-aof-rewrite-percentage 100
auto-aof-rewrite-min-size 64mb
aof-load-truncated yes
lua-time-limit 5000
slowlog-log-slower-than 10000
slowlog-max-len 128
latency-monitor-threshold 0
notify-keyspace-events ""
hash-max-ziplist-entries 512
hash-max-ziplist-value 64
list-max-ziplist-entries 512
list-max-ziplist-value 64
set-max-intset-entries 512
zset-max-ziplist-entries 128
zset-max-ziplist-value 64
hll-sparse-max-bytes 3000
activerehashing yes
client-output-buffer-limit normal 0 0 0
client-output-buffer-limit slave 256mb 64mb 60
client-output-buffer-limit pubsub 32mb 8mb 60
hz 10
aof-rewrite-incremental-fsync yes
|
然后将上面的配置重定向到 redis-6381.conf 的文件中:
1
|
# cat redis.conf | grep -v "#" | grep -v "^$" > redis-6381.conf
|
- daemonize no: 表示是否以守护进程方式启动,通常是以守护进程方式启动,所以设置为 yes
- pidfile /var/run/redis.pid: 表示进程号存储的位置,先不管,可以暂时删掉,这个其实也是可以使用端口号进行区别
- port 6379: 端口号,这是需要设置为 6382
当然最开始先配置以下几个参数的配置,其他的参数可以暂时不用管,可以都删掉,整个文件只保留下面内容:
1
2
3
4
|
daemonize yes
port 6381
logfile "6381.log"
dir "/opt/redis/data"
|
接着返回 redis 目录,并新建一个 data 目录:
1
2
3
4
5
6
|
# cd ..
# pwd
/opt/redis
# mkdir data
# chmod 777 data/
#
|
指定配置文件启动并查看进程是否存在:
1
2
3
|
# redis-server config/redis-6381.conf
# ps -ef | grep redis-server | grep 6381
root 396 1 0 09:08 ? 00:00:00 redis-server *:6381
|
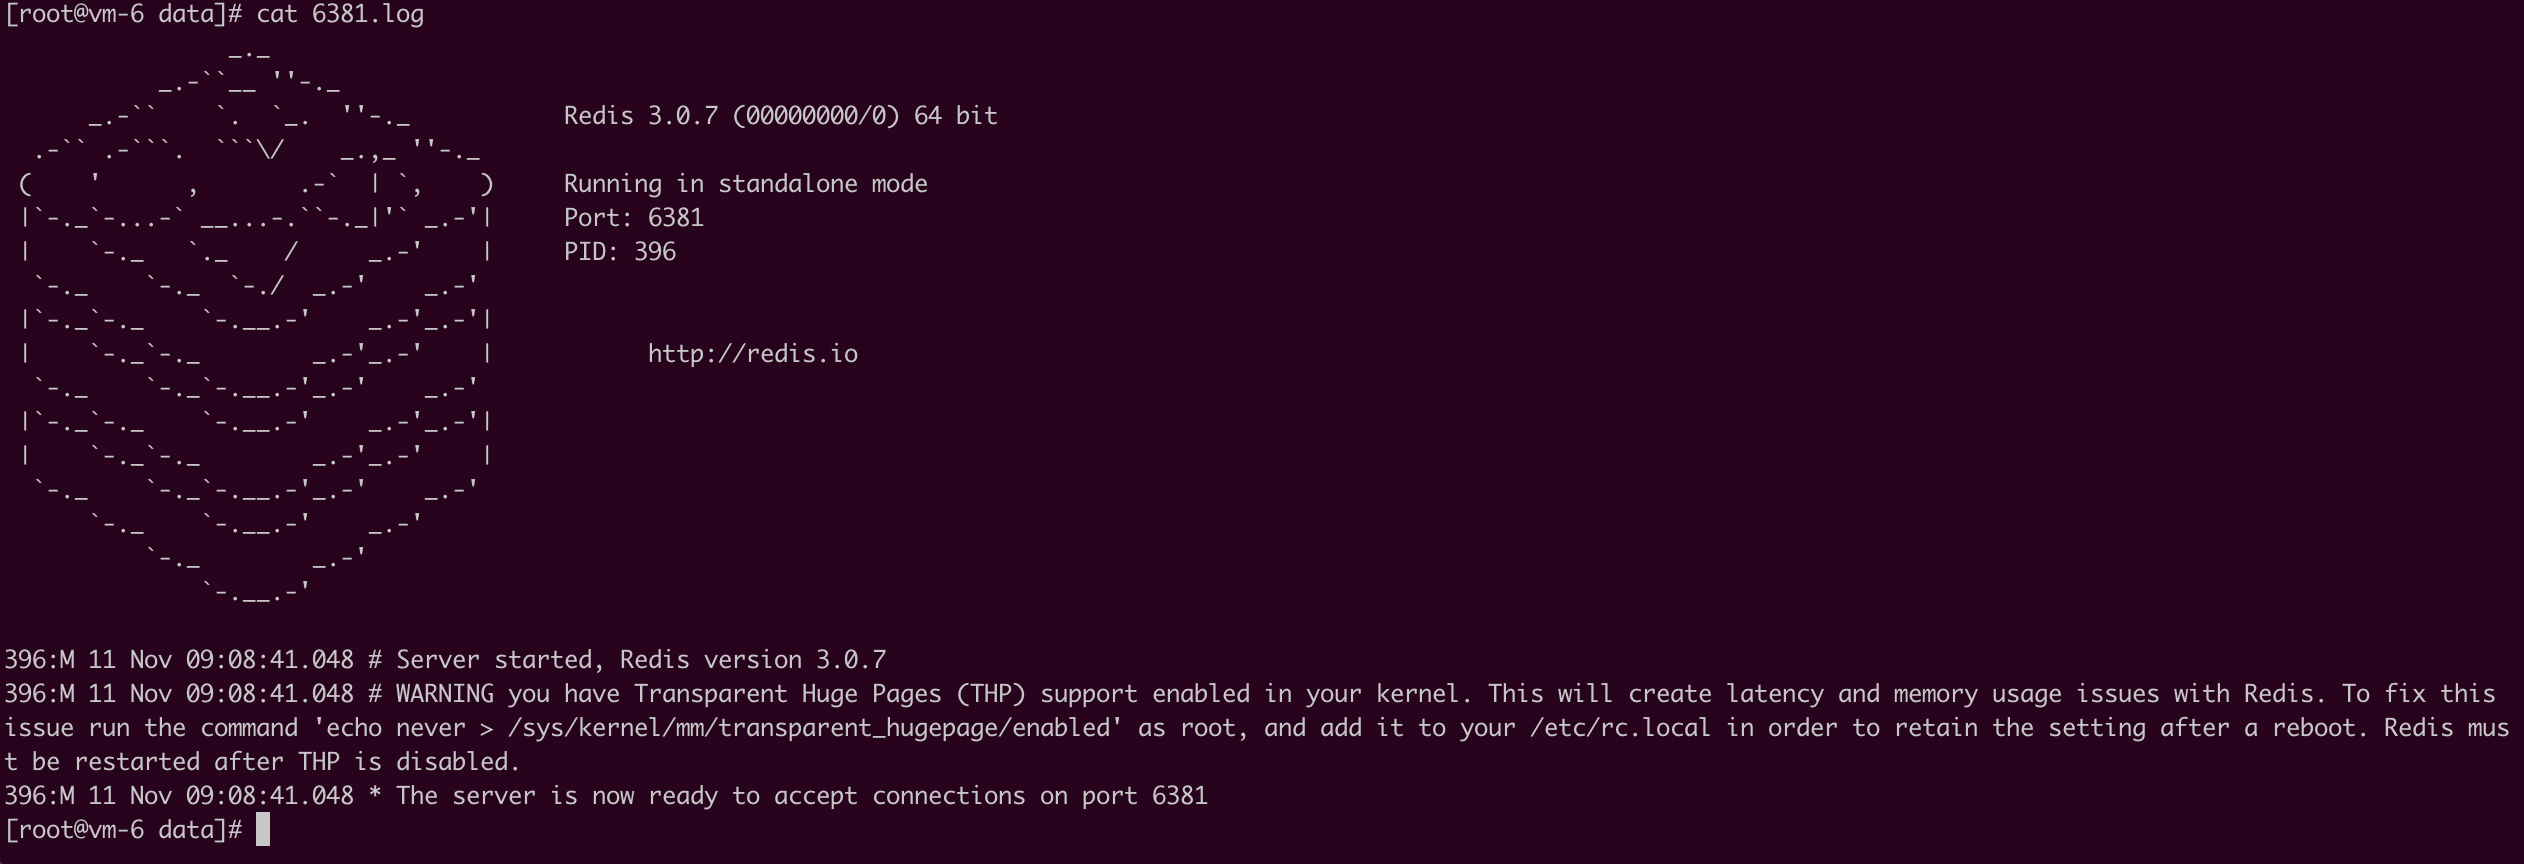
查看日志是存在:
1
2
3
4
5
6
7
8
9
10
11
12
13
14
15
16
17
18
19
20
21
22
23
24
25
26
27
|
# cd data/
# ll
total 4
-rw-r--r-- 1 root root 1697 11月 11 09:08 6381.log
# cat 6381.log
                _._
           _.-``__ ''-._
      _.-``    `.  `_.  ''-._           Redis 3.0.7 (00000000/0) 64 bit
  .-`` .-```.  ```\/    _.,_ ''-._
 (    '      ,       .-`  | `,    )     Running in standalone mode
 |`-._`-...-` __...-.``-._|'` _.-'|     Port: 6381
 |    `-._   `._    /     _.-'    |     PID: 396
  `-._    `-._  `-./  _.-'    _.-'
 |`-._`-._    `-.__.-'    _.-'_.-'|
 |    `-._`-._        _.-'_.-'    |           http://redis.io
  `-._    `-._`-.__.-'_.-'    _.-'
 |`-._`-._    `-.__.-'    _.-'_.-'|
 |    `-._`-._        _.-'_.-'    |
  `-._    `-._`-.__.-'_.-'    _.-'
      `-._    `-.__.-'    _.-'
          `-._        _.-'
              `-.__.-'

396:M 11 Nov 09:08:41.048 # Server started, Redis version 3.0.7
396:M 11 Nov 09:08:41.048 # WARNING you have Transparent Huge Pages (THP) support enabled in your kernel. This will create latency and memory usage issues with Redis. To fix this issue run the command 'echo never > /sys/kernel/mm/transparent_hugepage/enabled' as root, and add it to your /etc/rc.local in order to retain the setting after a reboot. Redis must be restarted after THP is disabled.
396:M 11 Nov 09:08:41.048 * The server is now ready to accept connections on port 6381
#
|
建议
生产环境建议选择配置文件方式启动 ,因为生产环境通常在一个机器上部署多个redis, 而redis是单线程模型,现在服务器很多都是多核,通常为了资源的合理利用,通常一台机器部署很多redis,如果使用默认配置或者动态配置会很麻烦。所以推荐使用配置文件方式启动。
另外在使用配置文件方式启动时,单机多实例配置文件可以用端口区分开。
