1 准备
- 安装Hogo(参考:Installation)
- 安装Git(参考:Install)
2 创建站点
1、新建站点目录。
hugo new site einscat-studio
hugo是命令参数,einscat-studio是站点名称,也是生成的站点目录名称。- Hugo 默认配置文件格式是
TOML,如果想转换为YAML格式,可以指定默认配置文件格式:
hugo new site hugo --format=yaml
2、初始化Git仓库。
cd hugo
git init
3、站点目录与文件。
➜  einscat-studio
├── archetypes
│   └── default.md
├── assets
├── content
├── data
├── hugo.toml
├── i18n
├── layouts
├── static
└── themes
此时如果执行 hugo server -D 访问页面会提示 Page Not Found,这是因为还没有安装任何主题。
3 主题配置
3.1 hugo-theme-stack
1、添加主题,将主题作为站点的Git子目录。
git submodule add https://github.com/einscat/hugo-theme-drone.git themes/hugo-theme-drone

# 之后主题更新命令
git submodule update --remote themes/hugo-theme-drone
2、备份默认站点配置文件。
mv hugo.toml hugo.toml.backup
3、将 stack 主题样例配置文件复制到站点目录下。
cp themes/hugo-theme-stack/exampleSite/config.yaml ./
- 注意提供的样例配置文件格式是
yaml。
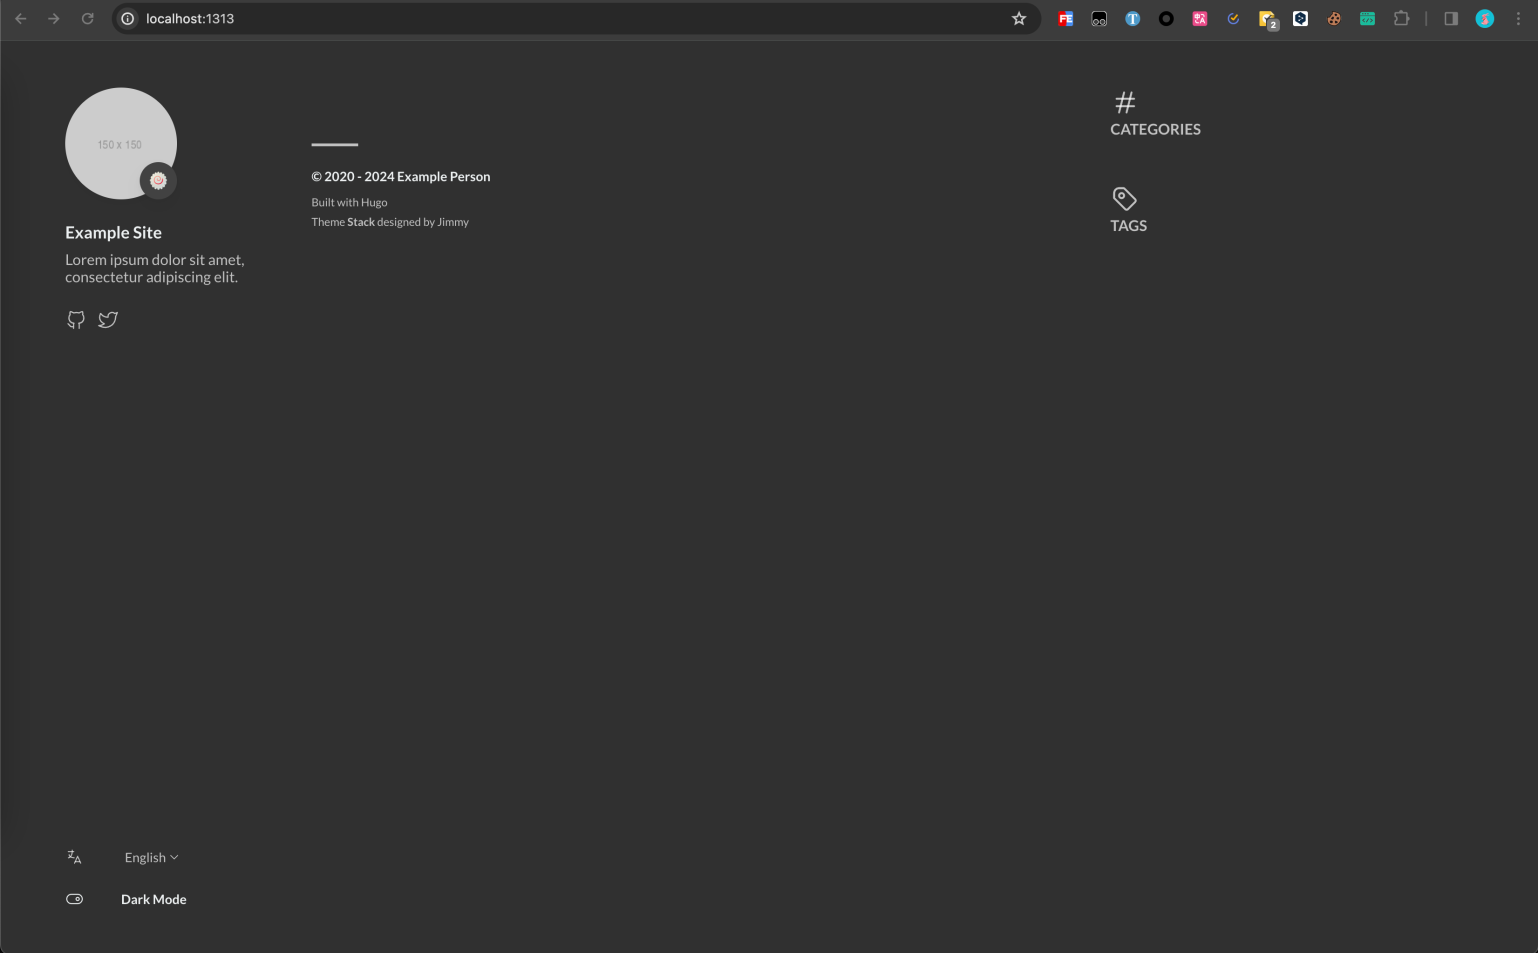
4、执行 hugo server,预览效果。
5、预览效果。
5、复制样例目录中页面布局文件
cp -r themes/hugo-theme-stack/exampleSite/content/categories ./content
cp -r themes/hugo-theme-stack/exampleSite/content/page ./content
cp -r themes/hugo-theme-stack/exampleSite/content/_index.zh-cn.md ./content
cp themes/hugo-theme-stack/exampleSite/content/_index.md ./content
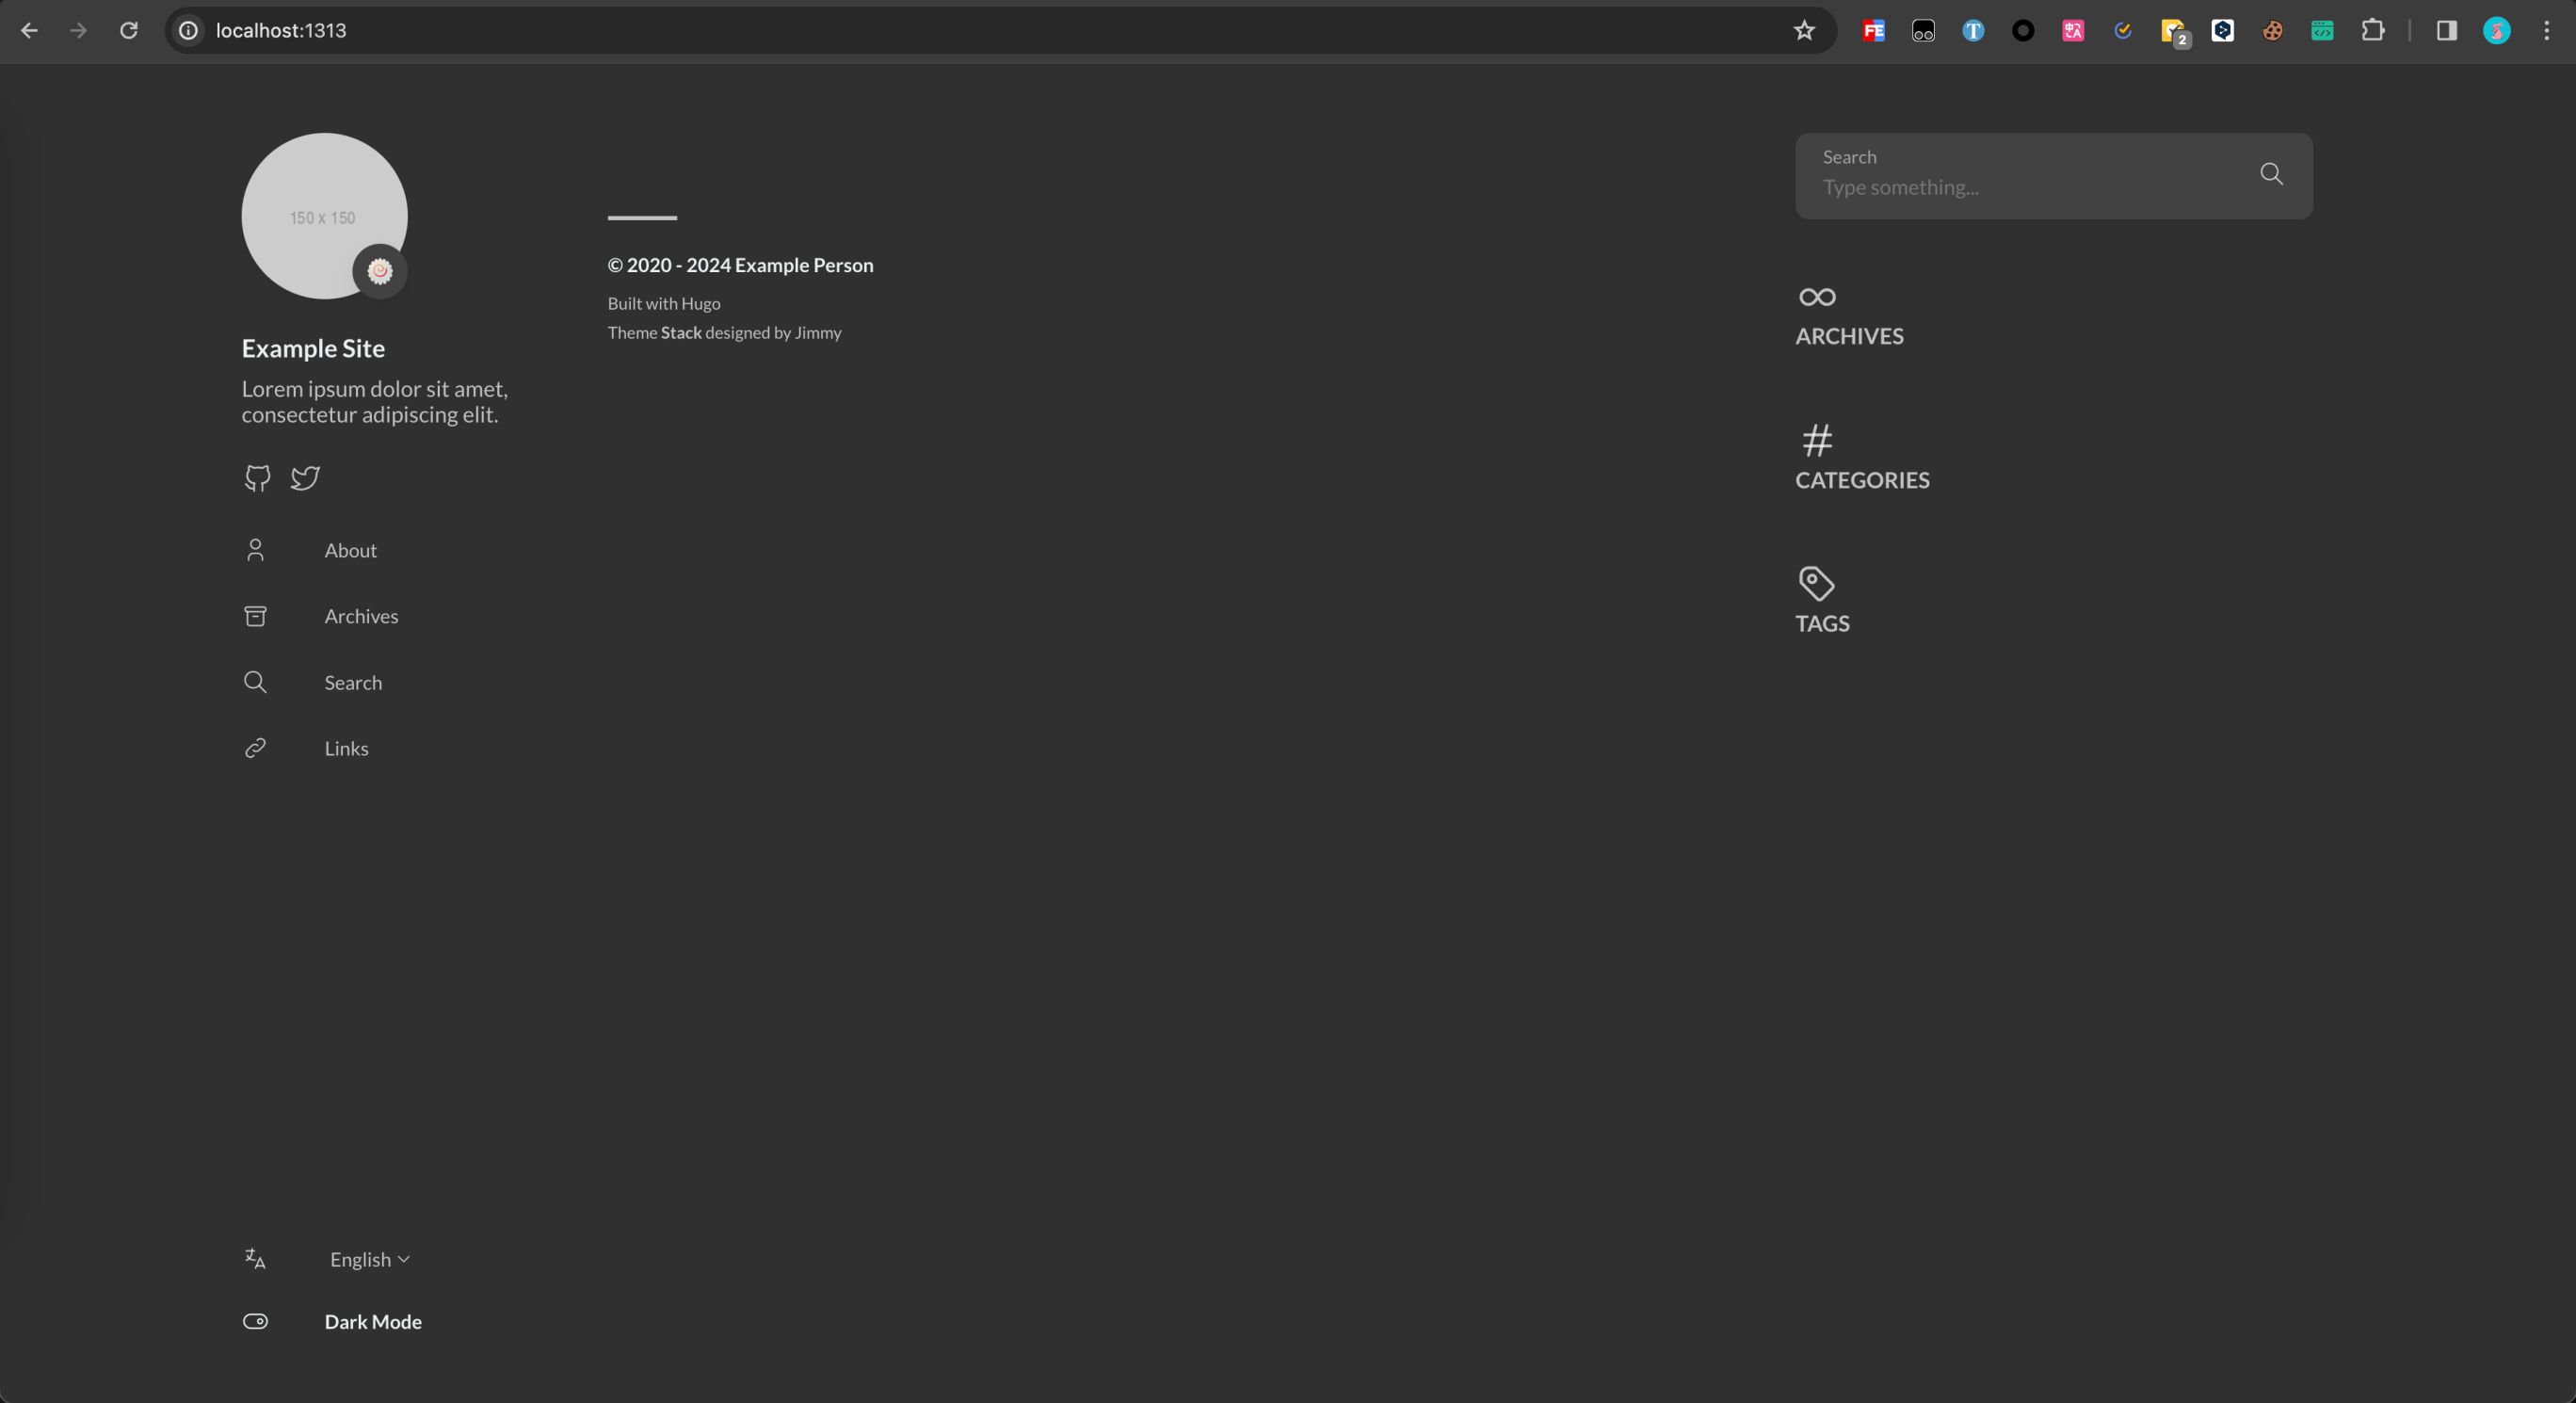
6、重启 hugo server,预览效果:
4 上传
cd hugo
git init
git remote add origin [替换为自己的 Github 仓库地址]
git add .
git commit -m "first commit"
git push -u origin main